
Last night I completed the ceiling repair in the office. I was able to keep the boards from the door (for the patch) "together" just with the thick layers of paint. This is pretty amazing, considering that I also had to use a pry bar on the back to remove the wooden cleats.
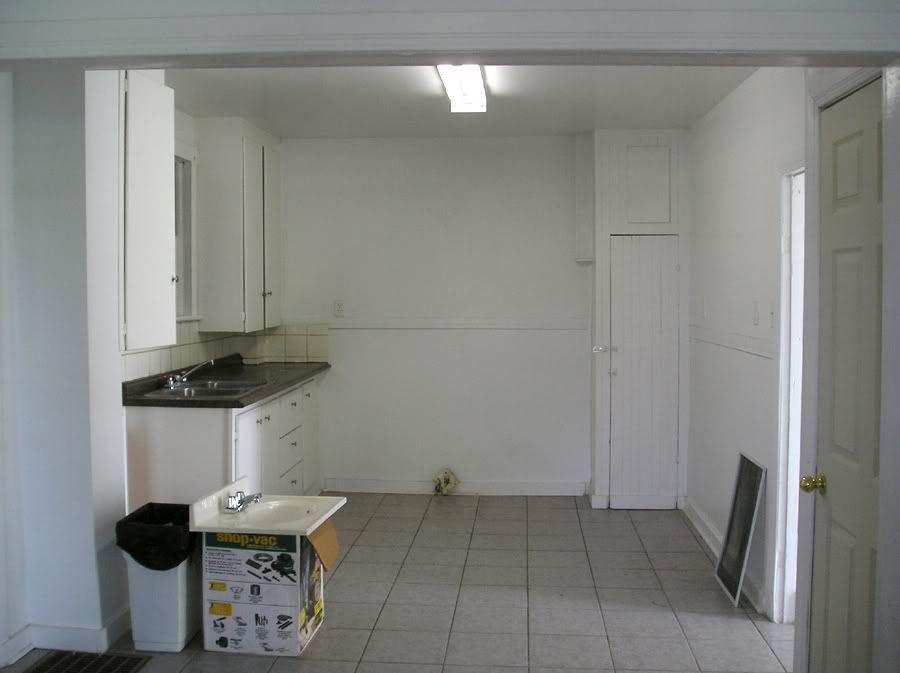
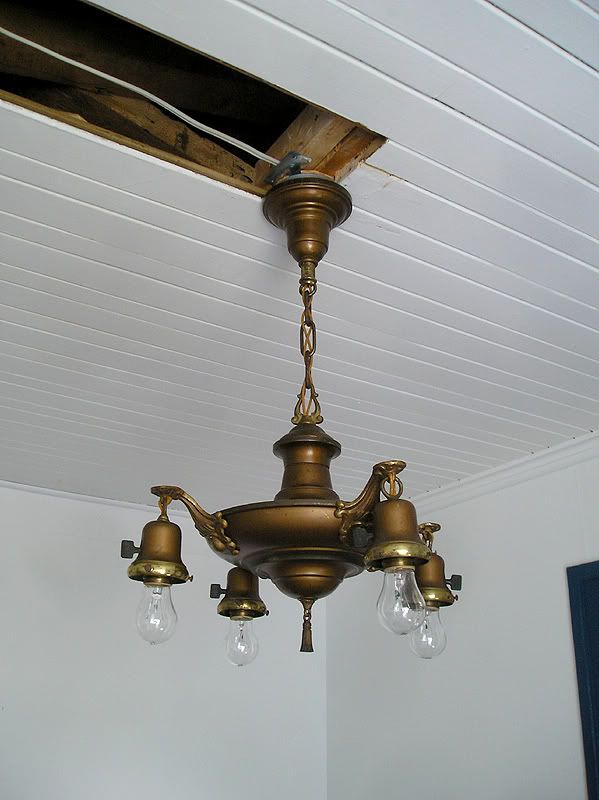
The door and cabinet I'm talking about are seen here from this old photo. The cabinet is actually a support "stand" to hold the weight of the entire chimney. Above the door is the flue opening for a wood stove (I'm assuming that the original kitchen stove was an old wood or gas stove). The chimney seems to have served no other purpose, since there is only one original opening in it.
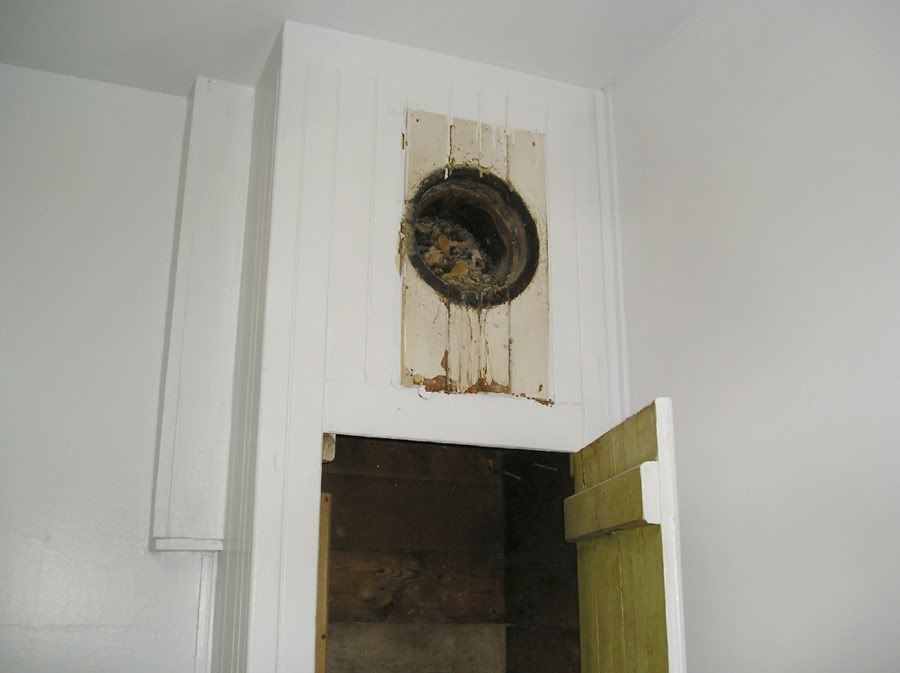
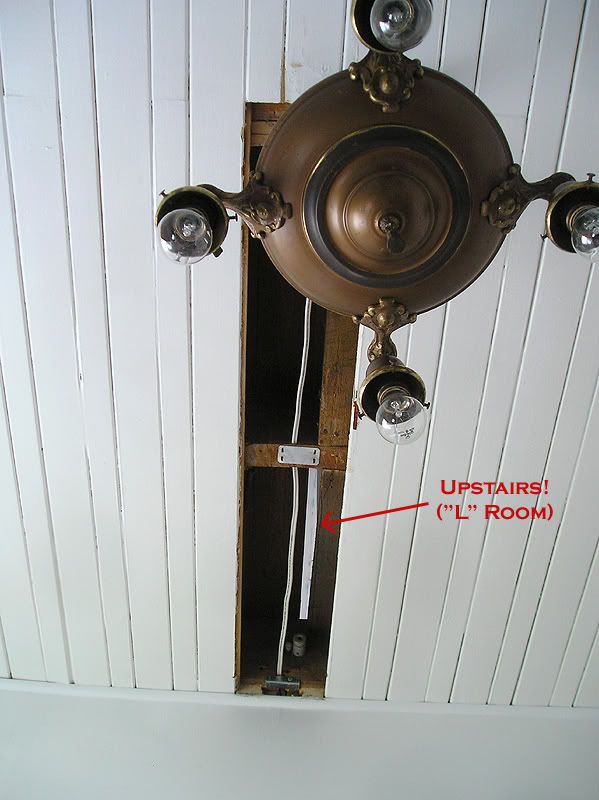
You can see the opening (jammed with decades of dead leaves) and the back cleats from the door in this photo:
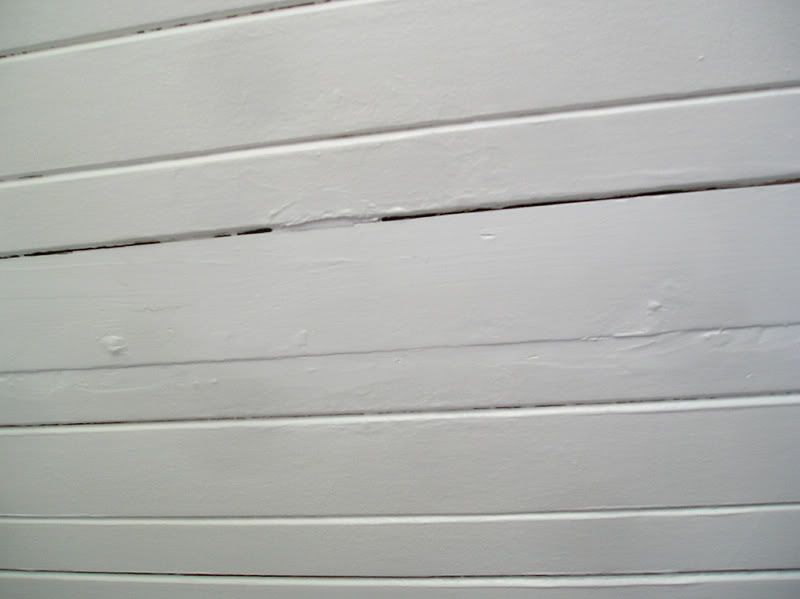
To jog everyone's memory, this is how the ceiling looked when I got the house. Basically they had ripped out a few boards to run the new wire, and then slapped-on some new wood and painted it. It looked pretty bad.
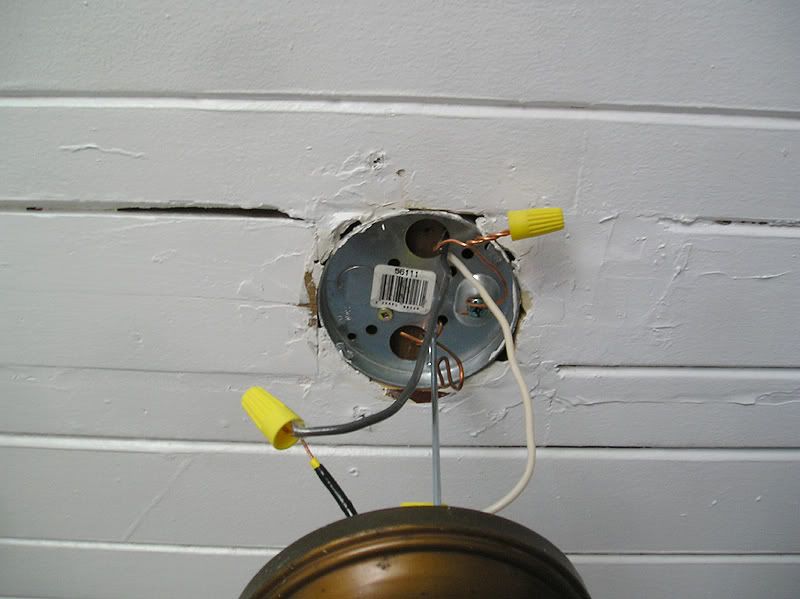
For the past year, I've been living with this big hole. I removed the damaged boards, and redid the electrical box area, and I added the metal plates. This was done when I installed the antique lights.
The huge advantage of reusing this old wood is that it's a perfect match to the old ceiling, including dozens of coats of paint.
Here is the new patch, fitted, and installed. You can see the screw holes. I decided touse thin #6 screws on the ends, and 2 nails in the centre, to hold this patch. I didn't want to mess around with nails, in case they cracked the paint, or in case I would hit the electrical wire (which I was very careful to avoid, even though I also had metal plates over it).
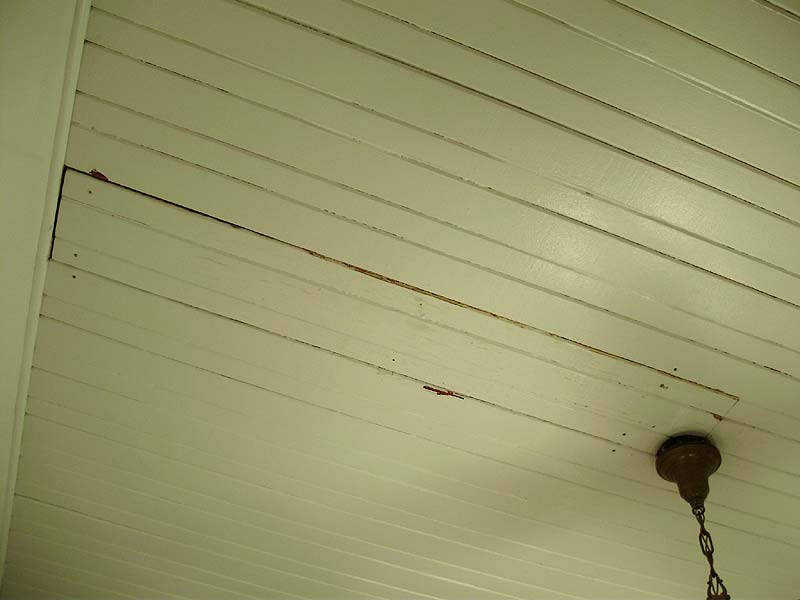

Holes patches, and a bit of silicone added in the larger cracks:


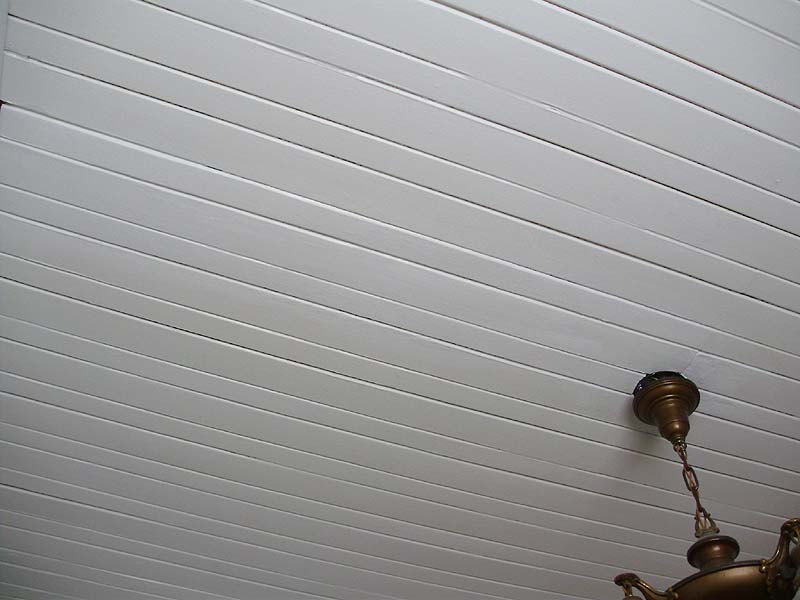
Then this morning I sanded all the putty/filler, and slapped-on a coat of high-end primer. Looks pretty good except the end near the electrical box. I will probably try to sand this a bit, and add a bit of putty to get a better transition, but for now, it looks great. Can you tell which 3 boards are "new" (old replacements)?
Today I hope to do the living room ones the same.
***
Lastly, two random photos. One shows the refinished/repaired gramophone cabinet in it's new spot (dining room) PLEASE IGNORE ALL THE JUNK AND CRAP, and the second is an artsy shot of my longcase clock test stand, and a miniature ebonized Vienna clock.

The clocks (on the test stand) are all "works in progress" from a few years ago (before buying the house). The beautiful longcase clock movement on the left is eventually going to be cased in a handmade case in the style of a 1690s-1750 English longcase clock. The dial (rings) need to be silvered, the small seconds dial also needs to have the numbers etched, and the hands on it are cardboard templates, but will be hand-cut from steel (eventually). I actually made the entire dial from scratch except for the large chapter ring, which is a hand-engraved antique. The one next to it in the middle also needs work (and a similar dial/hands), but it is a great old movement that I picked up very inexpensively. I remade several parts for it, with a few left to go. Lastly, the one on the right is for a reproduction I'll be making, of a rare American clock. This movement is one that I made from a kit. It was literally in 100s of pieces, and each wheel had to be assembled (very accurately and carefully), and each piece had to be hand polished. I added the bell-strike feature, and made the parts for it (like the hammer and bell stand).

No comments:
Post a Comment