
This will be a long post. My followers will know that it's been TWO WEEKS since I posted any photos, so this will be a collection of photos from all the ongoing projects I've been working on since then. As much as possible, these are listed in chronological-ish order.
I'm not sure how to cut a post with a "keep reading" type link, so if anyone knows how, let me know.
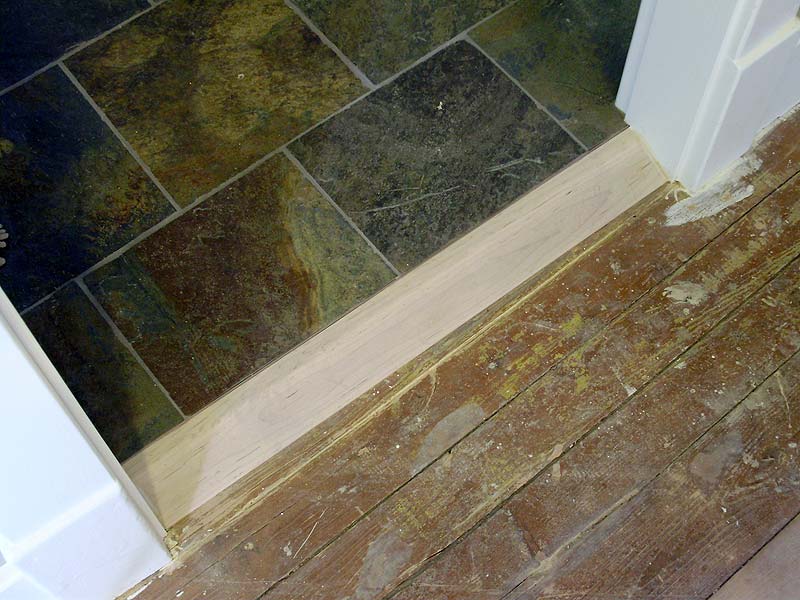
Bathroom Threshold
At work we call these a "transition moulding" but it's basically a length of wood with a taper on it. In my case, I needed to transition between the tiled bathroom floor to the old wood floor, which is a 1 1/4" difference. We have several tricks to make these, but they are fairly easy to make. I actually recently made one that was about 2 1/4" tall and 8" deep (and something like 3 feet long). That one was a monster.
Attic Door
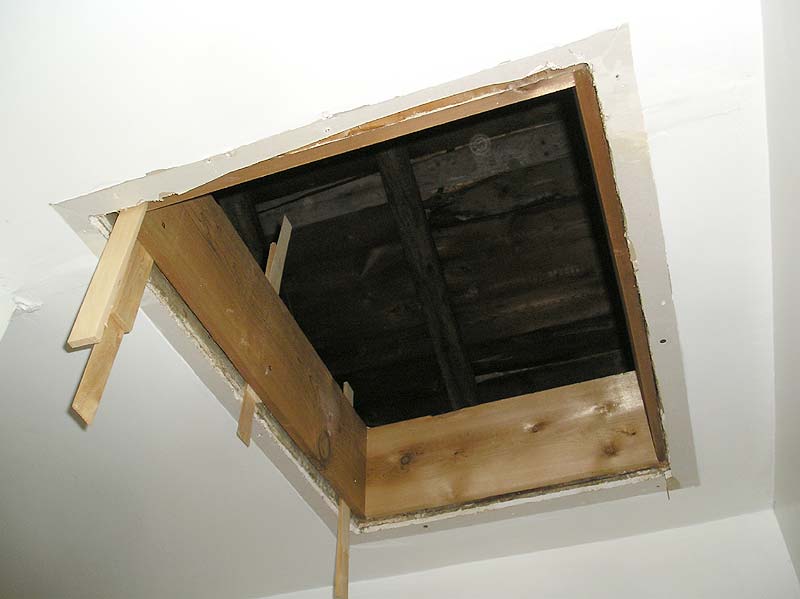
The next project I started was the attic door. This is a project that I wanted to get done last year before winter, and I never got around to it until now. I had already remade the entire attic opening over a year ago, which I never posted about. Basically, like I did in the bathroom, I wanted the door to blend into the ceiling as much as possible, without any mouldings sticking out. I decided that to help keep the insulation in the attic from falling into the house, I'd also add basically a box around the opening, so I started with that. I bought some relatively inexpensive rough cedar (otherwise I would have gotten pine), about 8" wide, and made a simple box, screwed together.
This was actually done in Oct 2010! I specifically took step-by-step photos since I knew I'd be posting it, but I didn't think it would take this long!
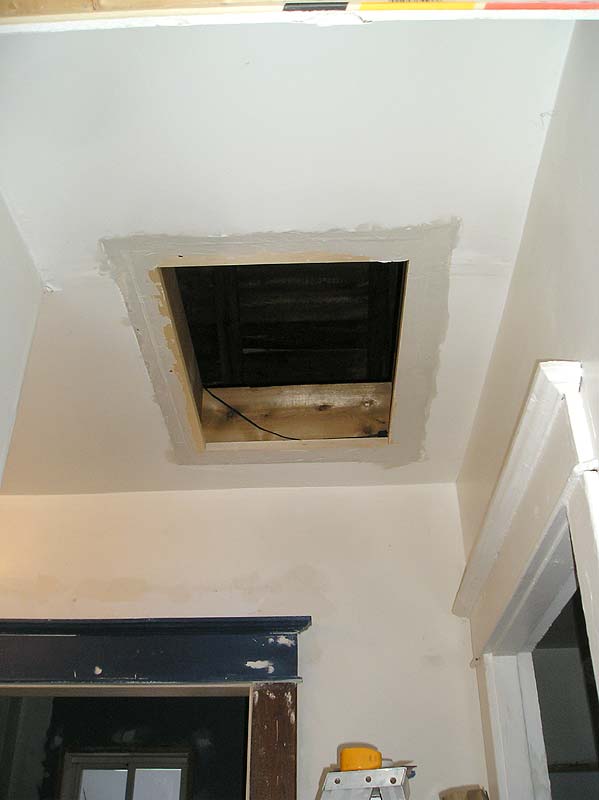
With the box assembled, I fitted it into the opening, making sure it was square. It was installed high enough from the drywall to allow for a 4 piece wooden frame to act as the door support ledge around the hole.
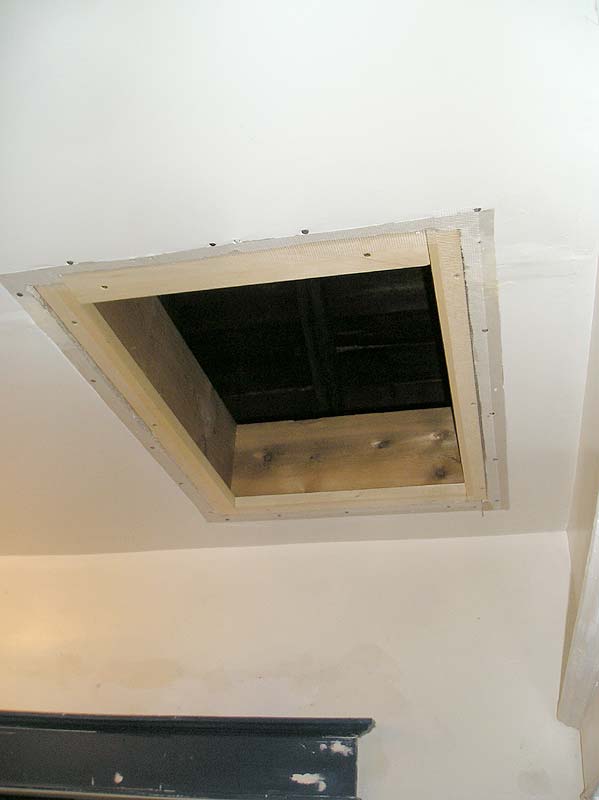
The frame pieces were screwed in place, and then the gaps were stuffed with insulation, covered in mesh tape, and mudded.
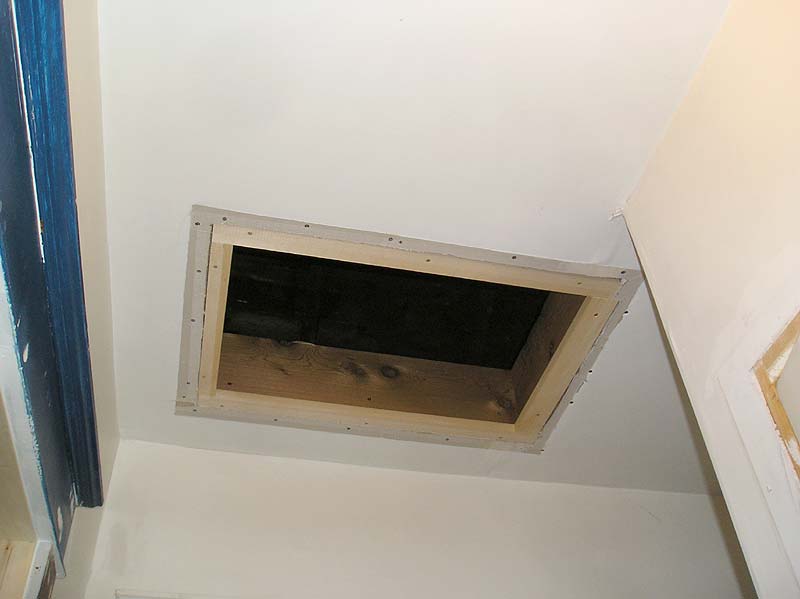
And that's where the project ended. I just cut down the old (thin and warped) plywood door to fit, and then I went on to other projects. So this past 2 weeks, I finally finished this up.
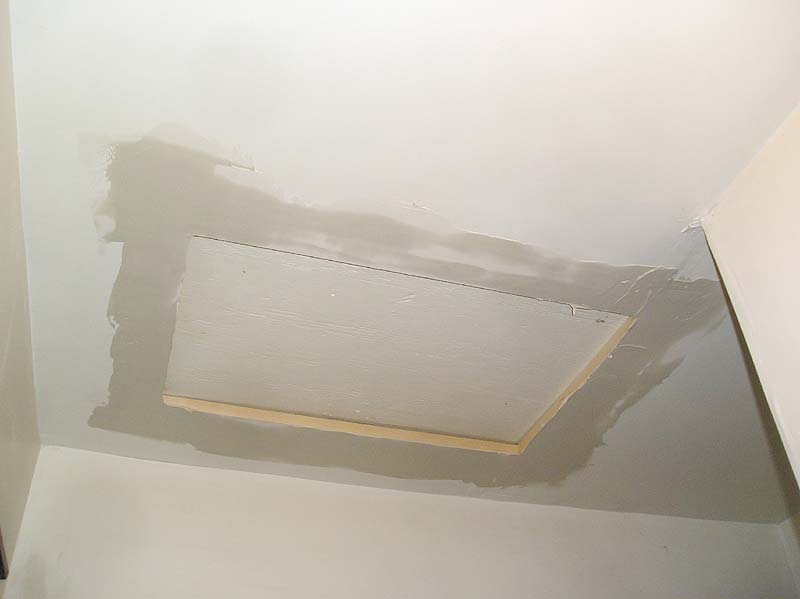
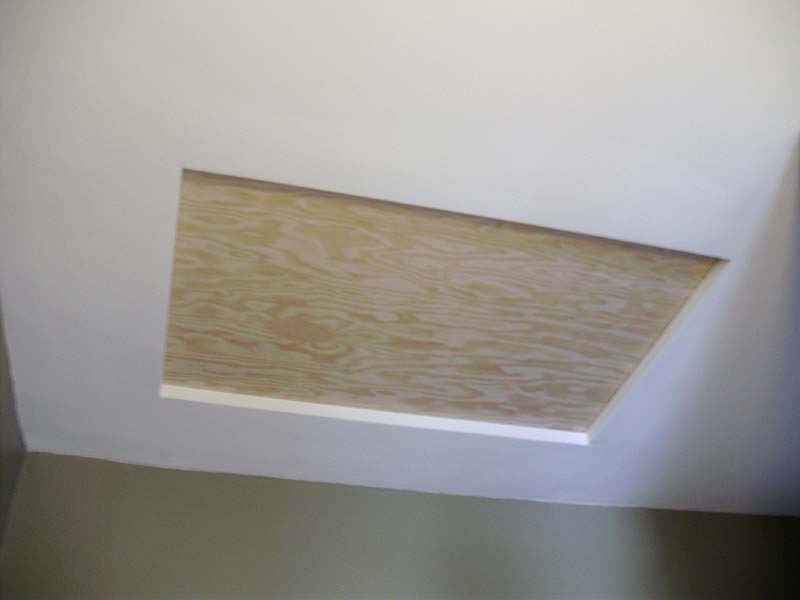
Basically, I just had to cut a new 3/4" thick fir plywood to fit the opening, and to that, I attached some insulation, held in place with spare pieces of vapour barrier. Voila!

It sat as a flat panel like so, until yesterday:
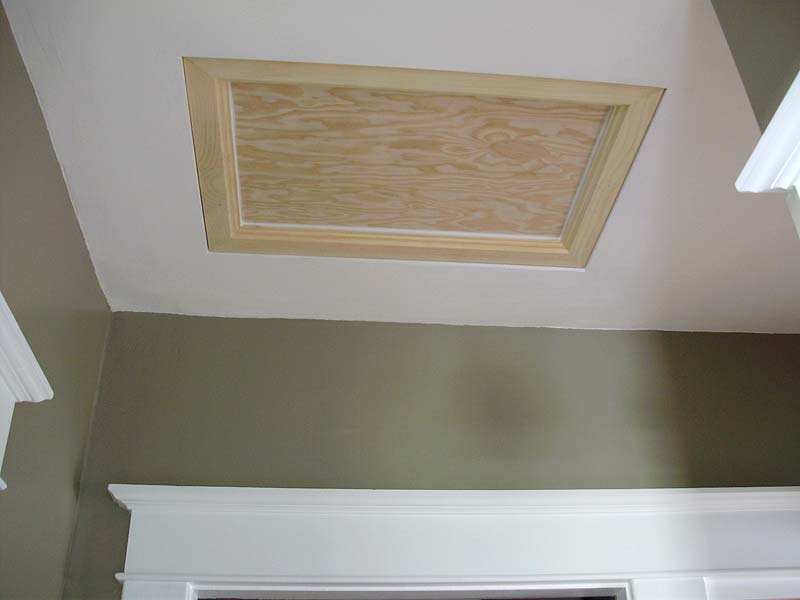
Originally, I wanted to make just a flat, flush panel that would look invisible, but I thought that this would be impractical (since it would end up getting dented, scratched, etc. So I decided to go with something a bit more decorative. I was going to reuse some old scrap mouldings (on hand) but I didn't like the profiles that I had, and they were far too thin.
So I milled some pine, and routed them to look the same as the Roman Ogee detail trim pieces that I added around the windows.
I made those pieces into a frame, which I glued together using biscuits. This is the first time I get to use my biscuit joiner too!
Here's the frame in the clamps:

And sanded, glued/nailed to the door, and siliconed:
It's currently being painted (I just primed it about an hour ago).
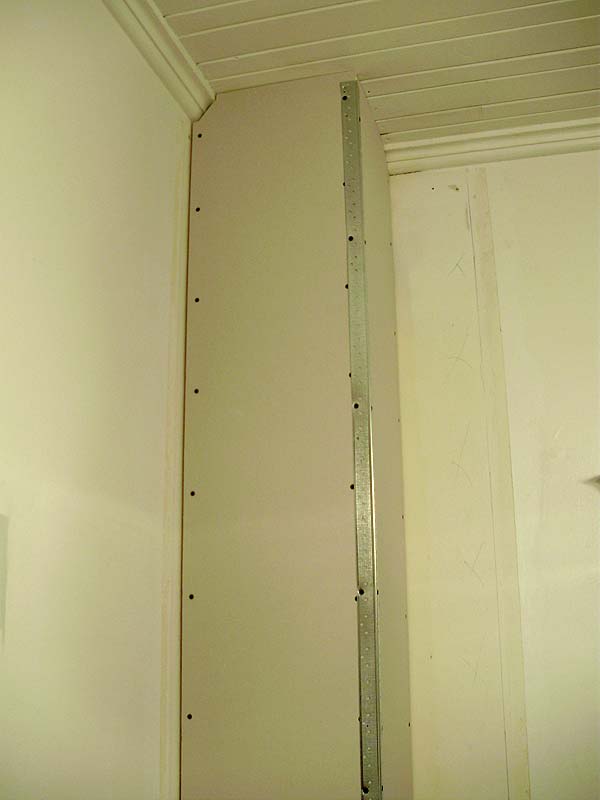
Drywall / Corners
I finally went and picked up some drywall corners from HD to start finishing the boxes around the repaired duct work columns. I have kind of a funny side note to add here: It's pretty awkward to get into a Tim Horton's while carrying a bunch of these (which are 8 feet long), and even harder to leave, realizing that both your hands are full. Yeah. I'm pretty smart, but I definitely have my dumb moments. I managed to get out by just pushing the door with my arm.
I won't bore you with 10 photos of drywall. Everyone know what that looks like. But I'll include a few to show some interesting bits.
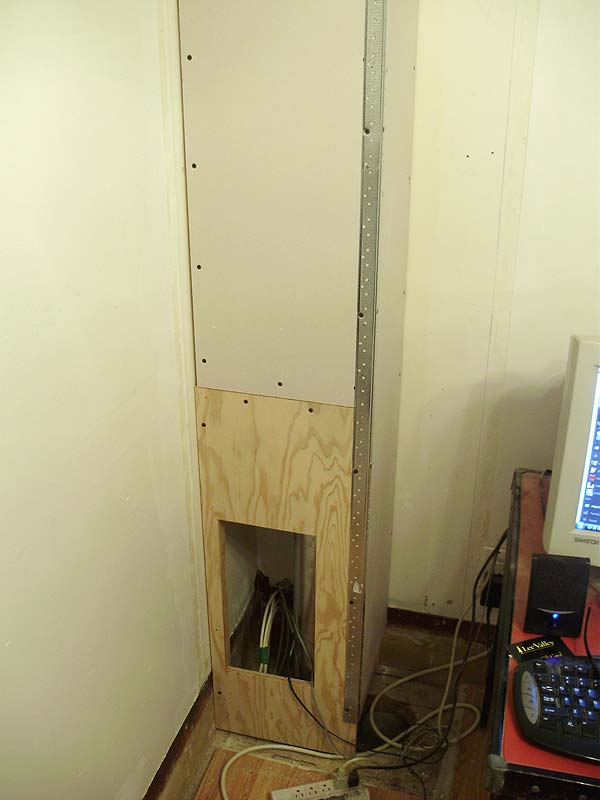
The office column had to have an access door, simply because they decided that this corner would be an awesome place to have 2 cable lines and the main phone line come into the house. Ugh. Whatever. I plan to make a cute mini door with casings around it, so I used plywood for sturdiness here.
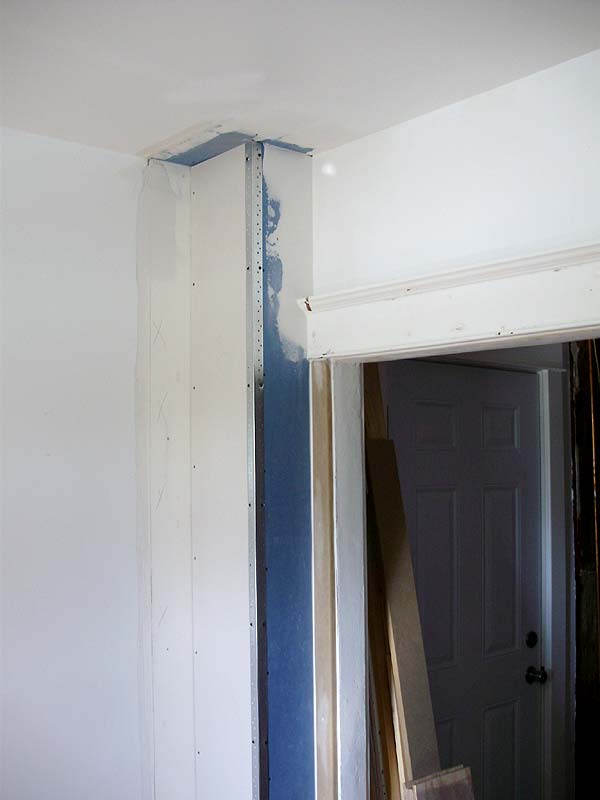
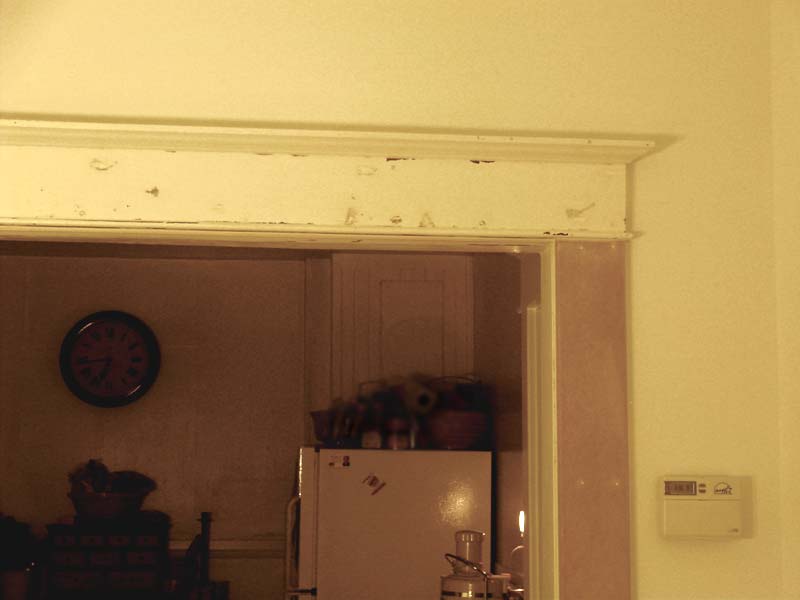
Then in the dining room, you can see some mismatched drywall (I'm using any scraps I have on hand, which is why half is blue). The reason for these is to show off the arch mouldings that I installed in the dining room. This was the upper casing that used to be on the opposite side.
Colour Samples - Dining Room
Yellow is a bitch. I actually have about 6 different photos, and it's nearly impossible to get them to look right on camera. I only have one decent photo of the yellows. This photo shows samples of a brown (matched a while back off a light fixture - a failed project but I already had the sample), and two samples of some yellows that I liked on the swatches I've had up on the wall for a while.

Basically, I don't like any of them. The brown is too... brown (not gold enough and too dark), and both yellows are too bright (for me). They are very flashy in person, and they won't go well with my rather mellow colour palette so far. If I can't find the right golden shade, then I might just pick another colour altogether.
Also remember that I am planning wainscotting/a plate rail in this room. I want something along the lines of this:


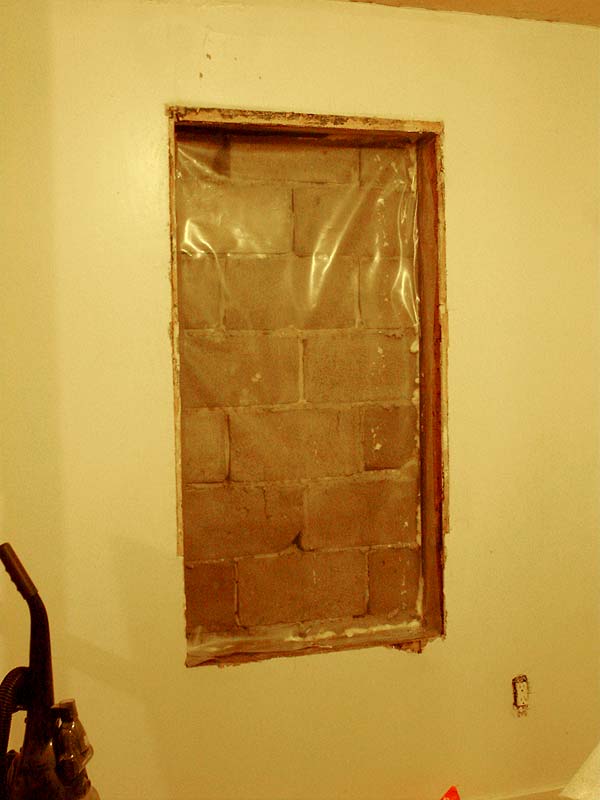
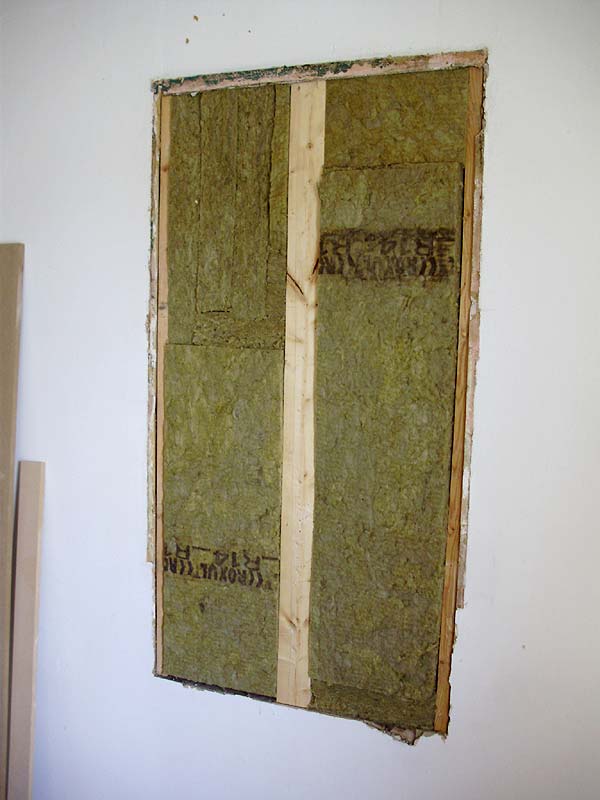
Upstairs Window Openings
Nothing too exciting here, but I decided that both upstairs window openings will be sealed-up, insulated, and drywalled over. Sure the built-ins would be fun, but the way that the rooms are laid out makes furniture placement very awkward and impractical, so it will be flat wall. Both window openings (L Room and Guest Bed) are the same so I only photographed one.
Ok this is getting way too long so I'm making a Part 2.
Have you ever tried transporting a bunch of 8' (ok, actually 2.5m, that's slightly more) sticks of foam base moulding on a bus? We managed but I don't think I'd do it again. Once the whole bundle started slipping and the bus driver got mad at us. For the rest of the trip we kept holding everything down to keep it from slipping again.
ReplyDeleteOn a side note, I hate drywall corners with a passion! They have insanely sharp edges and IMO they make corners look too tight and square for old houses. Plaster walls around here usually had rounded outside corners, so drywall corners really look out of place. Last summer I carefully removed them in a freind's flat revealing the carefully rounded edges, only to find new ones up a few weeks later... gotta love handymen without supervision!